Pages

1/18/06

Cave Country...

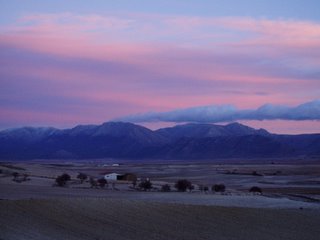
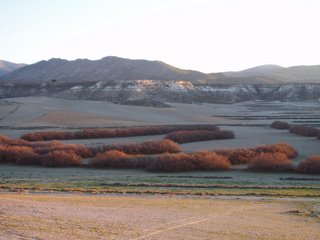
A short walk in the campo...some photos taken by our neighbour.



1/13/06

Importing a UK car.

After reading on another website that Spain is about to ban the import of all right hand drive cars I thought I would shed some light on the situation.

On December 23rd last year our gestor finaly completed the process on our Audi - we now have Spanish plates and our car is fully legal! Wahey, well it did take a long time probably about 7 months all in all.

So here is the process:

1) get your car insured, try www.abbeygateinsurance.com to get cover for a uk plated car

2) Take your car to Baza and get a "ficha technica" this is a document that will take around 7-10 days to receive and details everything about your car, dimensions/towbar/cc/vin plate etc

3) Take your car to the ITV testing station outside Baza - you must have your ficha technica with you. DO NOT go to Caravaca ITV station - they simply do not entertain uk vehicles (dont ask me why when Baza do)

4) You can change your headlights beforehand if you so wish (advisable) but you can take a risk and get them adjusted (depending on make and model) and you might get away with it. Changing headlights is costly but if I can offer one word of advice to save you mucho dinero it is this.....we went to the motor factors in Huescar and were quoted 598 euros for a pair of Audi lights, then we went to the scrapyard in Baza who can also order new parts within 48 hours they charged us 250 euros for the pair (same genuine items)

5) Providing you pass the ITV see your local gestor and tell him to sort the rest, you can do it yourself but it simply is not worth the hassle.

Thats it!! A word of warning though....... (yeah I know, its never that easy)
When aquiring your ficha technica check the details - the guy had my car down as a 6 cylinder V6 engine 150bhp when actualy its a 4 cylinder 2ltr 120bhp. This caused problems.

Go for your ITV once, if anything has to be done to pass you will get 15 days to rectify the problem. At the time we asked for our money back and so had to go through the whole ITV again (otherwise they only check what the car failed on the last time) Our first ITV picked up 3 faults that had to be fixed, the second ITV picked up 4 faults - all completly different.

Costs: (approx, this is what it cost us August 2005)

Ficha Technica 75.00
ITV 103.00
Headlights 250.00
Gestor fee 296.00 (inc all taxes/trafico etc)

TOTAL 724.00 euros

If your not concerned about driving an RHD car and the car is worth it or of value/classic status etc etc then I would say go for it, from a selling point of view it will always be way below Spanish market value because the steering wheel is on the wrong side but the fact that it has Spanish plates will make it worth something. UK registered RHD cars here in Spain hold very little value if any. The procedure will differ from region to region which is probably why there is so much debate about the whole thing, also this is just how we did it so rules and procedure may have changed again by now! Anyway its here as a guide for those who may need it. Good Luck!!!!

Baza ITV station 958342098
Scrapyard 958702902
Mechanic (orce) 646694850

Cave front design

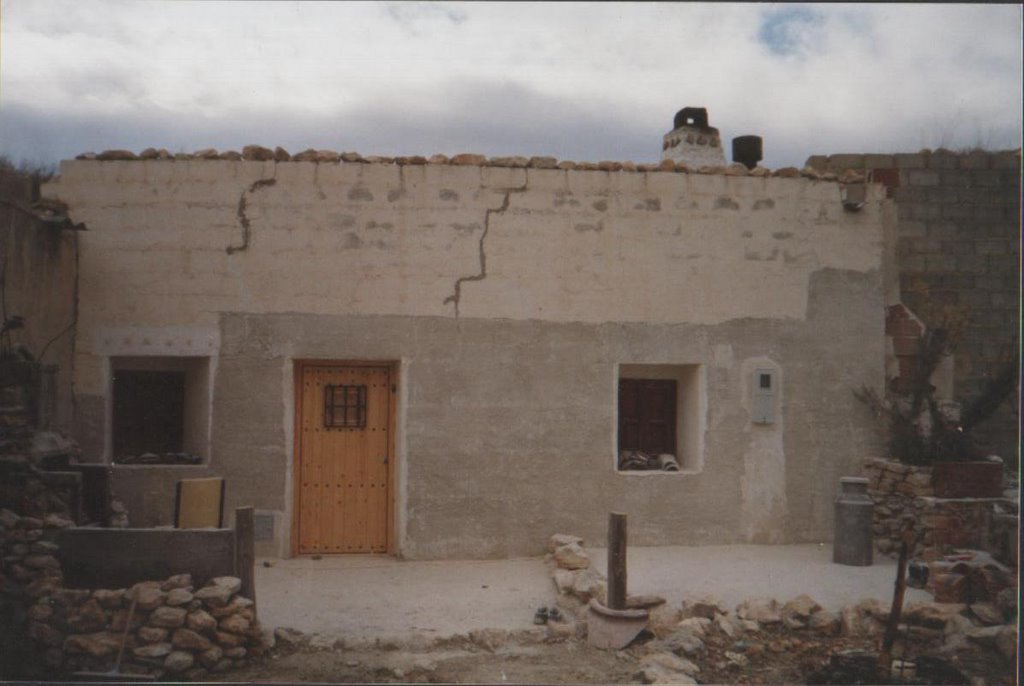
Cave front design. Traditional? Different? Unique? The choice is yours, we were lucky enough to already have a breeze block front so it was just a case of deciding how we wanted the cave front to look. In our area most of the caves are stone fronted (but this is now quite expensive) so keeping with our rustic theme we decided to strip the breeze front of all the old limewash - because nothing sticks to it. This was a tedious job using a grinder but the only effective way of cleaning the blocks thoroughly. Total prep time was 3 long dusty days.
Grinding off limewash and paint...


In the photo above you will notice cracks in the front, this is due to cave movement, remember - in effect a cave is a living thing always on the move with the rest of the earth. Nothing to worry about though as this is normal, repairable and part of "little and often" minor repairs.

We chipped away with a bloster chisel around 2 inches either side of the cracks, hammered in some ribbed nails (like the type in pallets) and cemented the cracks back in again. Job done. Later, after aquiring some broken old wine vats we cemented these in at random above the door and windows and at the cave base, you can see similar effects using stone or slate.

Nearly done...
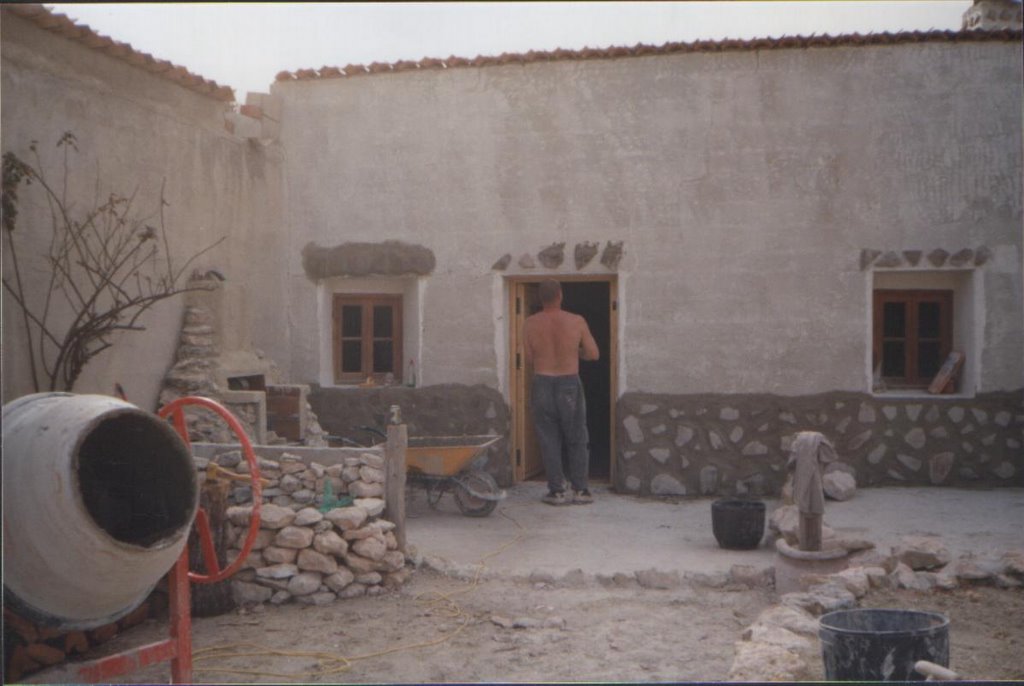

Then came the roof tiles just cemented in place on top of the highest block at the roof. At 32 cents each we opted for the more rustic coloured tiles although plain tiles are cheaper - either way it wont break the bank. So what to do with the rest? we contemplated just smooth render and paint but in the end decided on a more textured finish. This was created by applying a fine mix of cement with our hands - DO WEAR GLOVES!! The finish itself tends to blend quite effectivly with the area and we also have the option of going over it again in a different style should we choose to, basicly we have left our options open.

You will notice no finished photo......! and thats because its not. Our project was always planned as long term and will no doubt change and develop as we go along. Cosmetics are the best part of renovating a cave yourself not only due to the versatility of working on a cave but because it is at this point that no matter what you work on or acheive you get to see results and improvements that make a significant difference.

1/11/06

Rustic Patio...

The patio was one one of the jobs on the bottom of a very long list but something we were eager to get on with to have completed for the summer. The main hold up was the installation of the electricity as it required trenches dug to the front of the cave to accomodate the cables etc.


Our 5th visit from the local JCB..


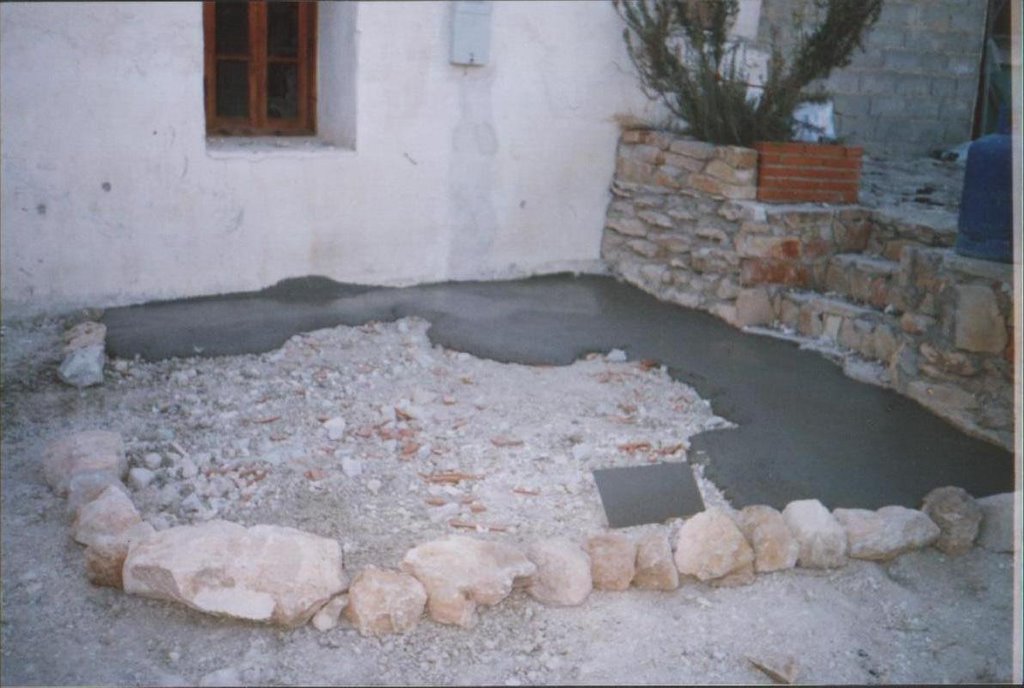
Laying the patio, firstly we measured out the total area which we required and sketched down some design ideas - it had to be in keeping with the surrounding area so we chose to build 3ft high dwarf walls around the edge. The picture below details the first stage of the wall and the first few barrows of cement. As we were putting cement (around 6" thick) straight onto the earth we laid broken rocks and bricks too to help bind the concrete.


Making sure the patio had an incline away from the door was a bit tricky as it was all levelled by hand (the idea then was to flag on top of the concrete at a later date) 3x1 wooden rails were placed horizontal to the cave within the concrete to aid in any movement or expansion and prevent exessive cracking. The patio is segmented into two parts 1) the bbq area and 2) an eating area on a slightly higher level. Again we used free stone to build the wall and blended the cement in between the stones with a wet paintbrush - the cement has now lost its grey colour and has become weathered turning more natural.


Not quite finished yet!


Since building the patio I have seen various Spanish techniques to create an attractive surface, the original idea was to use natural stone flags, however rustic stone can be used also and top of the list at the moment is create a "false" flag look using cemento blanco mixed with natural earth rich in iron which produces a rustic red/terracotta effect.

Total cost:

Around 85 euros, 1/4 lorry of "fat sand" and 9 bags of cement. Laying the patio in 2 stages was important to obviously get back into the cave! (although climbing through the window was required at one point)

The patio is an extra room, so much time is spent in the summer months cooking and being outdoors it is essential, complimented by a good bbq your patio is likely to be used more than any room inside your cave.

Recommended reading............. "Finca" by Alec & Erna Fry

1/8/06

Caves and Caravans...

"Eh?, You moved to Andalucia in August and stayed in a caravan? - you must have been mad"

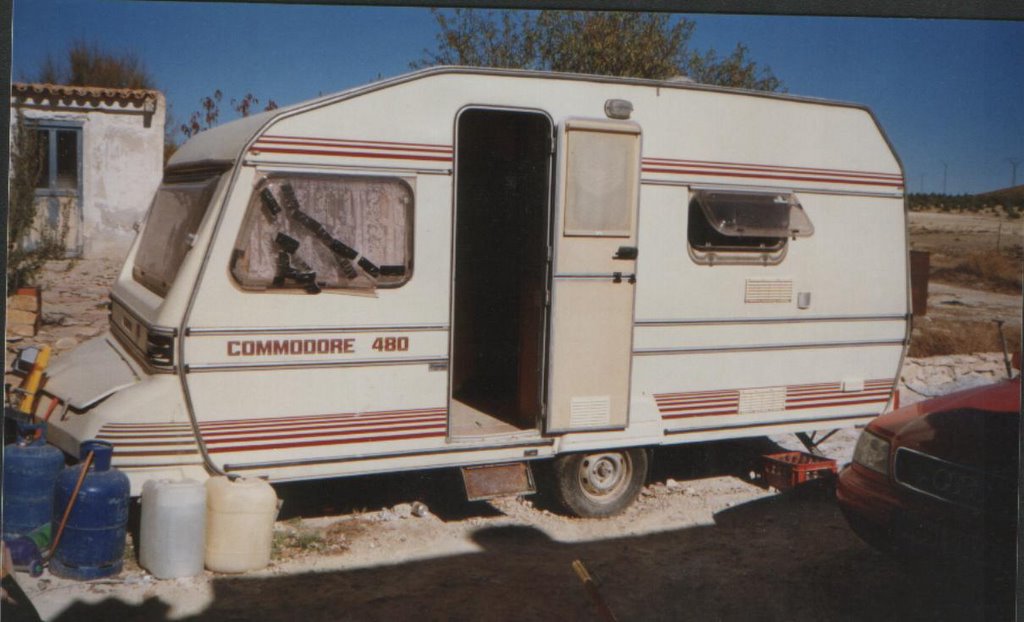
Well here it is, our home for nearly 14 weeks, Mad? well probably yes. I wouldnt do it again to be honest, in any case it only had to be done once. On a limited budget the option to rent nearby wasnt really an option at all because it would have eaten away at valuable "dinero" so a cheap caravan was bought coupling up as a good trailer to bring all of our wordly goods (hence no dinero spent on removal companies either)


The caravan served its purpose well and was sold for twice what we paid for it. Living in it however was a bit testing at times although the whole experience hasnt done any of us any harm at all. The biggest problem was getting washed in the shower after a days work digging trenches etc, not easy in a shower designed for an elf...

The heat in August was simply incredible, the caravan turned into an oven. It was essential that our cave was habitable by winter or we would have had to deal with the other extreme in temperature, February 2005 saw minus 18 degrees. So 2 adults, a child and a German Sheperd in a 3 berth caravan - it was fun, cosy, annoying, testing, hot, memorable and something to look back on and say "it was all worth it".

15 months later I,m sitting behind my computer writing this blog and it seems like a distant memory....the message however is that it moving to rural Andalucia can be done on a limited budget. We saved an absolute fortune moving to Spain the way we did, here are some examples...

No removal company..............................saved 1400 euros
No rent for 14 weeks...............................saved 1300 euros
Living on site............................................saved 500 euros
Caravan re-sale.......................................profit 500 euros

3700 euros saved, that in a nutshell bought our kitchen appliances, tv, bathroom suite, plaster, sand, cement, floor tiles, etc etc etc so well worth it. One important thing to remember to anyone thinking "we might be able to do it you know" is the conversion rate between the pound and the euro - you get significantly more for your money in rural Andalucia, so £950 spent on a removal company converted to euros can actualy build you a full rustic kitchen and probably another room too instead. For our own situation and budget the way in which we approached the whole move paid off without question.

So, yes it is possible especialy if you are prepared to "rough it" for the short term - in the end it is definately worth it, particularly from a satisfaction and sense of acheivement point of view.