
 Grinding off limewash and paint...
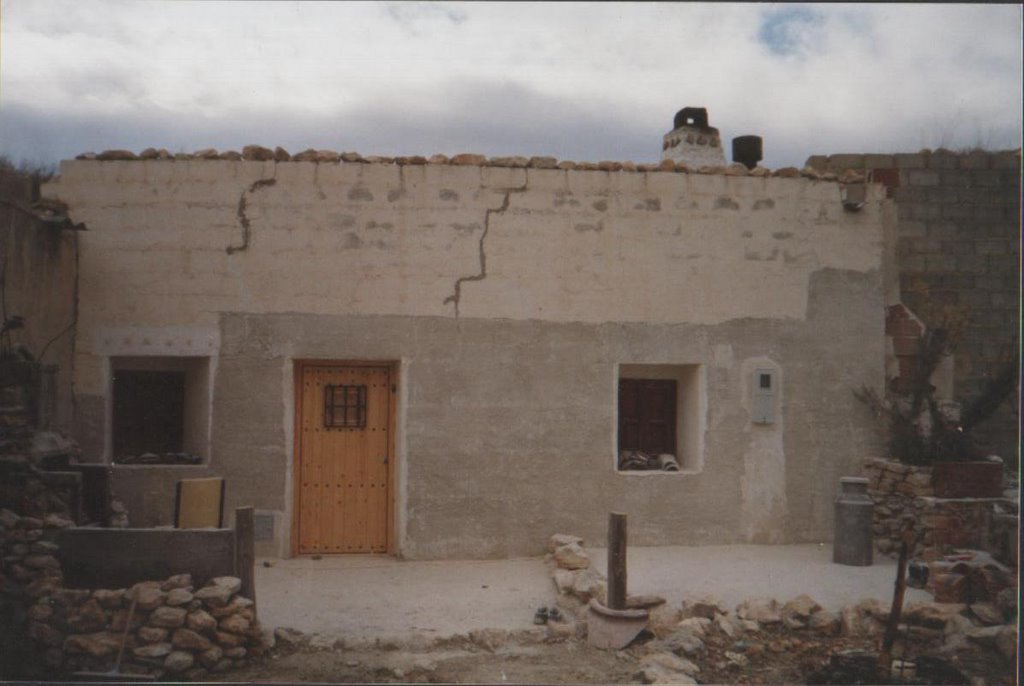
In the photo above you will notice cracks in the front, this is due to cave movement, remember - in effect a cave is a living thing always on the move with the rest of the earth. Nothing to worry about though as this is normal, repairable and part of "little and often" minor repairs.
We chipped away with a bloster chisel around 2 inches either side of the cracks, hammered in some ribbed nails (like the type in pallets) and cemented the cracks back in again. Job done. Later, after aquiring some broken old wine vats we cemented these in at random above the door and windows and at the cave base, you can see similar effects using stone or slate.
Nearly done...
Then came the roof tiles just cemented in place on top of the highest block at the roof. At 32 cents each we opted for the more rustic coloured tiles although plain tiles are cheaper - either way it wont break the bank. So what to do with the rest? we contemplated just smooth render and paint but in the end decided on a more textured finish. This was created by applying a fine mix of cement with our hands - DO WEAR GLOVES!! The finish itself tends to blend quite effectivly with the area and we also have the option of going over it again in a different style should we choose to, basicly we have left our options open.
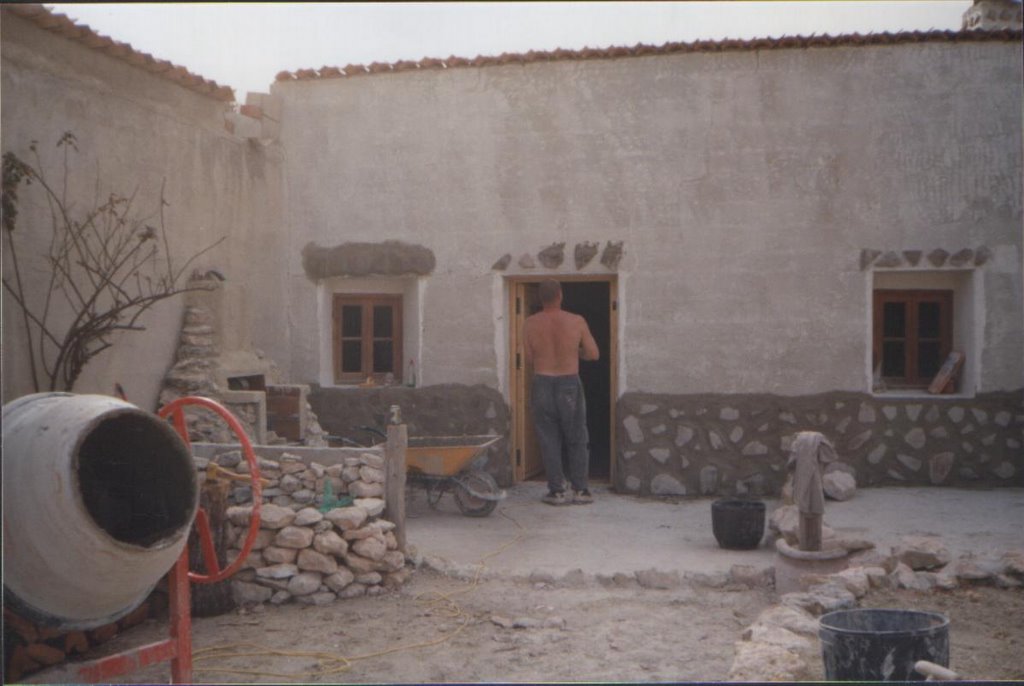
You will notice no finished photo......! and thats because its not. Our project was always planned as long term and will no doubt change and develop as we go along. Cosmetics are the best part of renovating a cave yourself not only due to the versatility of working on a cave but because it is at this point that no matter what you work on or acheive you get to see results and improvements that make a significant difference.
3 comments:
Looks like you are doing a great job - keep up the good work, it will be well worth it in the end :-)
I especially love your BBQ - what a great design!
Hasta luego
Zoe
Thanks Zoe,
Glad you like the bbq, summer evenings are great cooking outdoors. Thanks for dropping in too, I always appreciate positive comments, imagine what it was like convincing friends and family at the beginning..!
I have just had that problem CR convincing a friend that I was not crazy. Friend called by yesterday evening and we caught up with news etc. When I showed him the cave house he shook his head. He just could not get his head round the concept of living in a cave, and digging new rooms, etc
He said that he was going to go out and come in again as he must be dreaming.
Post a Comment